Makeup-Comparator

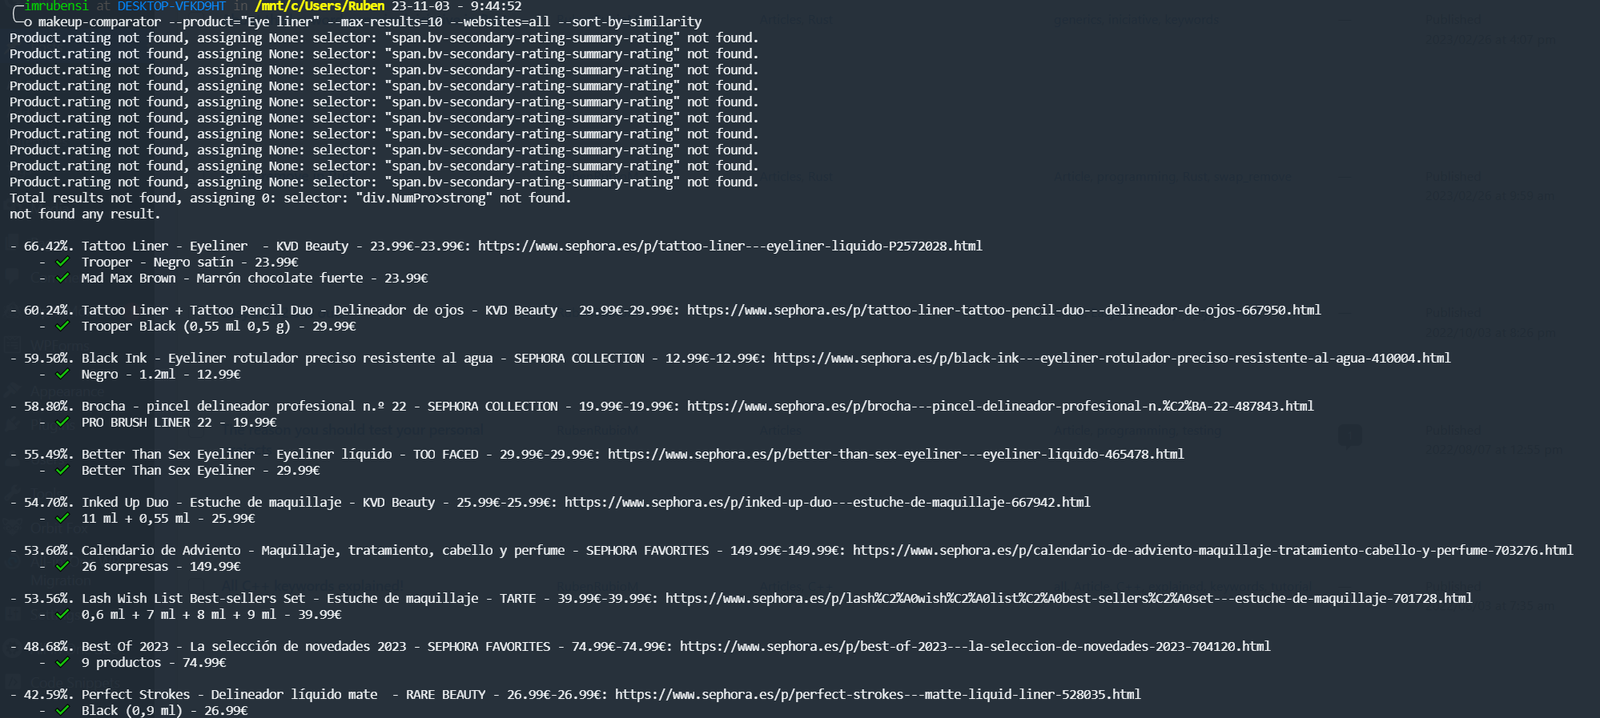
makeup-comparator terminal output

Hello everyone! After several months of working on this project, I am very pleased to finally be able to share the results.

The makeup-Comparator project was initially intended to serve as both a backend for a website and a command-line interface (CLI). As of today, September 2023, only the CLI program has been released to offer users a quick method for searching for products across different websites and comparing them. This is achieved through web scraping techniques applied to various websites to extract their product data.

First and foremost, installing Makeup-Comparator is a straightforward process using Cargo. You can follow the instructions below:

cargo install makeup-comparator

Also, you can find the entire repository in my Github.

After all, personal projects aren’t necessarily aimed at becoming a major success or a highly profitable service. In my case, I undertake them to learn and enhance my knowledge of various technologies and programming methods that I may not have the opportunity to explore in my daily work. That’s why I’d like to take this opportunity to explain what I’ve learned during this process and, perhaps more importantly, the challenges I’ve encountered along the way.

Rust

I chose Rust as the language for this project primarily because I wanted to delve deeper and learn more about this relatively new programming language, which I had previously used in other projects like: Easy_GA.

Rust allowed me to develop this project quite easily, thanks to its versatility and robustness. It is a language that makes it simple to start a project quickly and get things done efficiently.

Error handling is another powerful aspect of Rust. In this project, it was essential because web scraping relies heavily on whether we can retrieve the desired information or not, and it’s crucial to find solutions when this information is not available.

Testing

One of the most crucial aspects of this project was system testing, even more so than unit testing. This is significant because webpages can change frequently, and in a project that heavily relies on HTML structure, it was common to wake up one day and find that some parts of the web scraping were broken due to recent changes on the websites used to retrieve information.

Thanks to system testing, I was able to quickly identify the sources of these problems and address them promptly. It’s important to note that testing serves not only to ensure a high level of code reliability but also to define specific situations that, when altered, should trigger notifications or alerts.

Thanks to this project I also wrote an article about that: The reason you should test your personal projects.

Code coverage

Testing is indeed crucial, but its effectiveness depends on the coverage of the parts we expect to test. In this project, I paid special attention to the code coverage of my testing efforts. I designed a script to calculate the coverage generated by my tests and utilized various tools to visualize this information. I also set a goal of maintaining test coverage above 90% of the lines of code to ensure thorough testing.

The same way as with testing, this work gave me the idea of writing a article that was really popular online: Code coverage in Rust.

CI/CD

Continuous Integration/Continuous Deployment (CI/CD) pipelines are common in the industry but not often seen in personal projects. In my case, it was more about exploring this aspect and understanding what it could offer me.

Despite the fact that this project was developed by a single programmer (myself), I structured the repository to follow a Gitflow pattern of integration. I prohibited direct pushes to the master branch and enforced passing the tests defined by Github Actions before any changes were merged.

Before implementing the CI/CD pipeline, I established Git hooks to ensure that the code being pushed didn’t contain any warnings, didn’t fail static analysis, was well-formatted, and that all tests were passing.

You can find an article explaining more about that: What are Git Hooks and how to use them in Rust.

Deployment

Finally, the deployment process provided by Cargo is very straightforward and easy. I divided my project into two crates: one for web scraping, which can be reused in other projects, and the other for visualizing the results using the first crate.

EasyGA 1.2.0 is out!

Current Crates.io Version

Hello rustaceans! The version 1.1.0 for Easy_GA crate is finally out! As always you can find the repository in Github and the crate in crates.io

The full CHANGELOG is avaliable in CHANGELOG.md

[1.2.0]

  • Added new SelectionAlgorithm::Random.
  • Added new SelectionAlgorithm::Stochastic.
  • SelectionAlgorithm now derive PartialEq, Eq, PartialOrd and Ord.
  • Added unit testing for Selection trait.
  • Logs are now saved inside target/easy_ga/logs insted of target/tmp/

Easy_GA

Current Crates.io Version

Crates: https://crates.io/crates/easy_ga

Github repository: https://github.com/RubenRubioM/easy_ga

Easy_GA is a genetic algorithm library made for Rust projects. It provides full customization for your own genotypes definitions and a genetic algorithm implementation to wrap all the common logic within a genetic algorithm.

Features

  • trait Gene: Definition to implement for your custom genotypes.
  • trait Selection: Definition for your custom selection algorithms.
    • Roulette: Selection algorithm already implemented.
    • Tournament: Selection algorithm implementation with n members on it.
  • GeneticAlgorithm: The main class to wrap the business logic in the genetic algorithm execution.

Usage

In your Cargo.tml you have to add the Easy_GA dependency

[dependencies]
easy_ga = "*"

Now I will show you a basic example of Easy_GA that you can find on main.rs

Files to include in order to use features:

use easy_ga::Gene; // For defining our own gene.
use easy_ga::GeneticAlgorithm; // To create a GeneticAlgorithm.
use easy_ga::SelectionAlgorithms; // To specity a concrete SelectionAlgorithm.

Definition of a custom Gene implementing easy_ga::Gene trait:

#[derive(Clone, Copy)]
struct MyGene {
    // Fields.
    fitness: f64 // Recomended to avoid recalculate fitness on `get_fitness`
}

impl Gene for MyGene {
    fn init() -> Self {
        // Gene constructor.
    }

    fn calculate_fitness(&mut self) -> f64 {
        // Fitness function.
    }

    fn crossover(&self, other: &Self) -> Self {
        // Crossover implementation.
    }

    fn mutate(&mut self) {
        // Mutation implementation.
    }

    fn get_fitness(&self) -> f64 {
        // Returns the fitness
    }
}

At this moment, we need to implement the Clone & Copy traits for our Gene. I will try to avoid that in a future versions.


Initialization of our GeneticAlgorithm:

let genetic_algorithm = GeneticAlgorithm::<MyGene>::new()
            .population_size(20)
            .iterations(50)
            .mutation_rate(0.10)
            .selection_rate(0.90)
            .selection_algorithm(Box::new(SelectionAlgorithms::Tournament(10)))
            .fitness_goal(100.0)
            .init().unwrap();

We have other ways to initializate our GeneticAlgorithm such as GeneticAlgorithm::new_with_values if we don’t want the chain calling method.


Now that we have defined our genotype and have initializate our GeneticAlgorhtm we have 2 ways of running it:

  • GeneticAlgorithm::run: This method runs the algorithm until the end and returns a tuple with (Gene, StopCriteria) that represents the best Gene in the execution and the reason to stop the execution.
let (gene, stop_criteria) = genetic_algorithm.run();
  • Iteration by iteration: We have the posibilty of running the algorithm generation by generation and make modification while the execution is running.
while genetic_algorithm.is_running() {
    let new_generation: &Vec<MyGene> = genetic_algorithm.next_iteration();
}

Logger

The logger is a very usefull tool to measure and retrieve some data from the execution. By default the logger is disabled, you can enable it this way:

use easy_ga::VerbosityLevel; // Verbosity level {DISABLED, LOW, MID, HIGH}
use easy_ga::VerbosityType; // Verbosity type {LOG, SAVE, LOG_AND_SAVE}
use easy_ga::LOG_verbosity; // Sets the verbosity level.
use easy_ga::LOG_verbosity_type; // Sets the verbosity type.

LOG_verbosity(VerbosityLevel::LOW); // VerbosityLevel::DISABLED by default
LOG_verbosity_type(VerbosityType::LOG_AND_SAVE); // VerbosityType::LOG by default
  • VerbosityLevel:
    • DISABLED: The logs are disabled.
    • LOW: Only very usefull information.
    • MID: Maybe not to desired information but also usefull.
    • HIGH: All logs are avaliable including tracing logs.
  • VerbosityType:
    • LOG: Only terminal logs.
    • SAVE: Saves the logs into target/tmp/.
    • SAVE_AND_LOG: Both.

Benchmarking

Benchmarking was added in the version 1.1.0 and you can run them donwloading the repository and running cargo bench from the command-line. The benchmarks are placed inside the benches/ folder.

Next steps

This is a personal side project mainly for me so any further implementations will be done in my spare time as a good way to teach me more about Rust.

  • Multithreading
  • Add verbosity for debugging ✔
  • More unit testing and system testing
  • New default Selection algorithms
  • CSV and JSON result export
  • Fix some quality of life problems with references and chain calling
  • Add benchmarks ✔

License

Easy_GA is licensed under Mozilla Public License 2.0.

Shinobu

Shinobu is a videogame made for Amstrad CPC using Z80 assembly and with the CPCtelera library. This project was highly related to optimize every piece of memory due to the Amstrad CPC limitation of 16KB of memory RAM.

The source code can be found in the github repository and the game can be played not only in a physical Amstrad CPC but in a web browser.

Twitch Loot Auto-Clicker

Twitch loot auto clicker icon

Twitch Loot Auto-Clicker is a browser extension to improve the experience while using twitch.tv. This extensions find where do you have points avaliable to collect in a twitch channel and auto click them for you to maximize your rewards.

Its second utility is to bring to you an extense and detailed summary about the points earned while using the extension.

The extension has over 700 active daily users and growing every day with users all arround the globe.

The source code is completly open in the github repository and the extension can be downloaded in the chrome app store

Technologies:

  • JavaScript
  • Google chrome API

Spark Engine

Spark engine logo

Spark Engine is a graphic engine made from scratch using C++ 17 and OpenGL. Spark Engine has the ability to render 3D and 2D objects and its main object is to be used for videogames and graphics shows.

Among all its features we can mention the ability to render dynamic lighting, shadows, and a full integrated particle system. It is also capable to generate and render custom vegetation on an optimized way. Its frustum feature bring the user the posibility to only render what the user is seeing to improve the performance.

The engine can be used in Windows or Linux as a dynamic library for C++. The source code can be found in the open github repository.

Spark Engine in game render from Beast Brawl.

Beast Brawl

Beast brawl logo

Beast Brawl is a PC videogame made as my final year project with other five teammates. The objective is to capture the main item and keep it for the longest time possible while other players try to steal it.

It is in essence a racing game with power ups that will help you to either mantein or steal the object. It has an online mode to play with other players and compete to be the best beast.

The game has been made completely from scratch using C++ 17. That includes also the physics engine, graphic engine ,sound engine and network engine.

The source code is completely open in the github repository and can be downloaded in the official website for Linux and Windows.

Technologies:

  • C++ 17 & STL
  • OpenGL, GLEW & GLFW
  • GLM
  • ASSIMP

The Shadow Overtakes You

The shadow overtakes you game

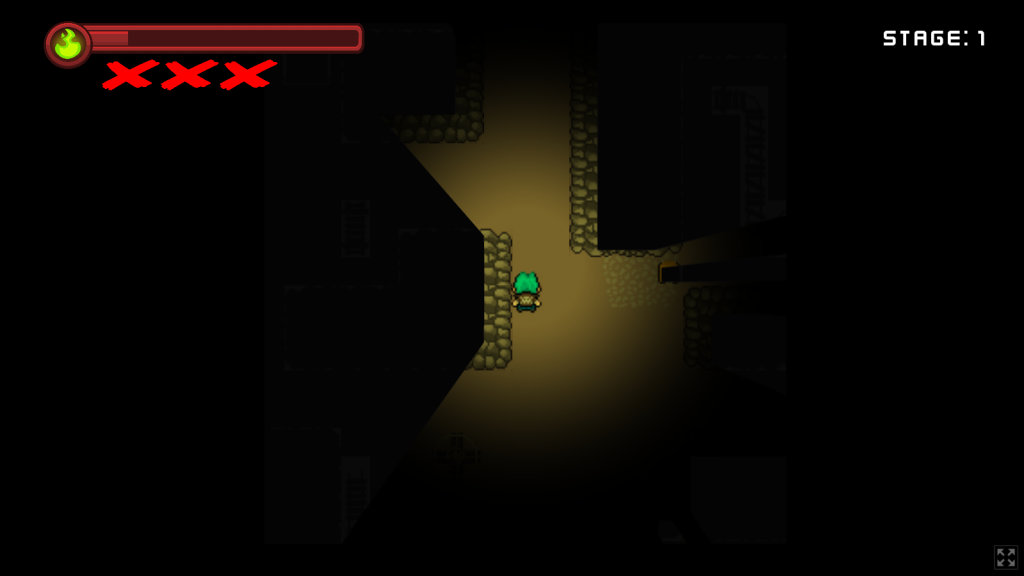
The Shadow Overtakes You is a gamejam project done for the Global GameJam. It is a 2D top-down videogame where the player has to exit the mine as fast as possible to advance to next levels. While playing to escape, the light of his torch will decay over the time. The player has to be outside the mine by the time the torch is off.

It has a total random map generation with 2⁶⁴ permutations to bring the player the never ending experience. We focused on the light as the main mechanic to give the player the sensation of constant fear.

The source code is avaliable in the github repository and it can be downloaded for Windows, Mac and Linux or played directly on the browser from itch.io

Technologies:

  • Godot
  • GDScript
  • Git

Bipedal Walking Genetic Algorithm

Bipedal walking memory cover

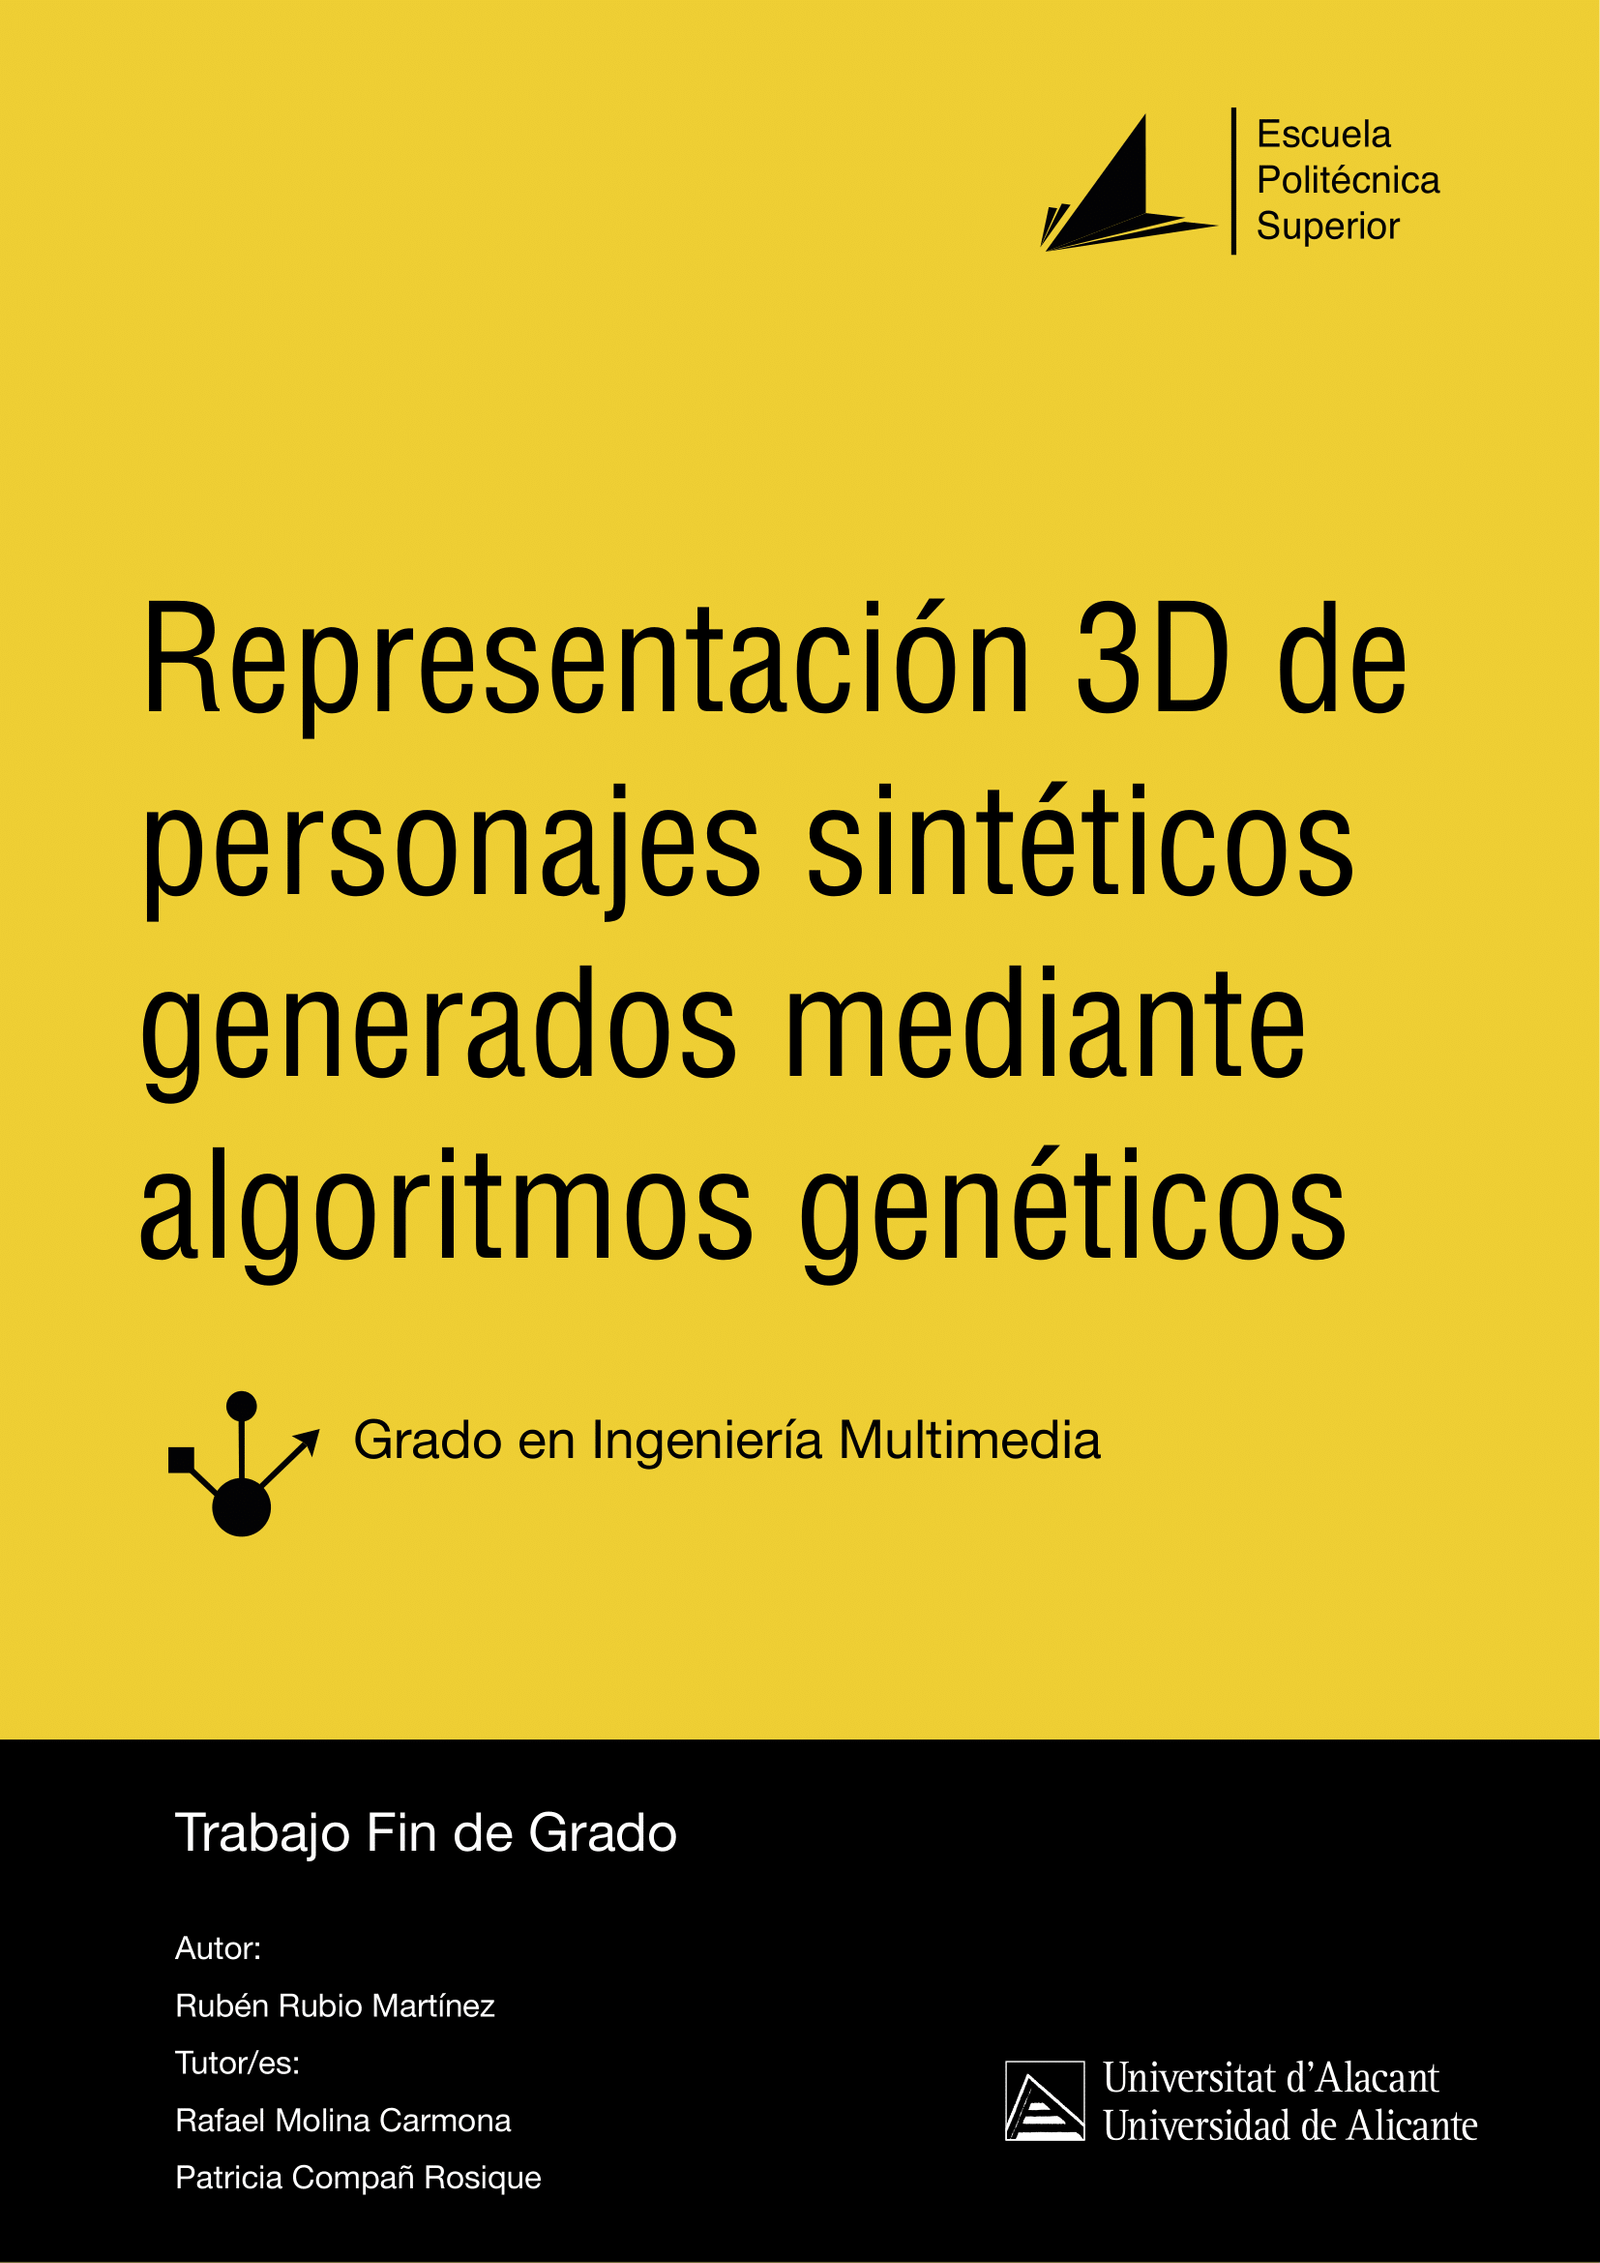
One of the goals in this project is to facilitate the understanding about one of the many fields in the artificial intelligence, genetic algorithms. The way to achieve this goal has been through the visual representation of both execution and data.

In order to achieve this visual representation, the problem about teaching how to walk to a bipedal structure with the aforementioned genetic algorithms has been raised. First, an exhaustive investigation of the use of these algorithms has been carried out and similar projects made with them have been presented.

A graphic and physic engine have been necessary in order to be able to visualize the evolution and results. One of the best ways to understand the behaviour of something is beeing able to apply changes and study every parameter, by that, this tool develops counts with multitude of parametrization relative to the genetic algorithm behaviour.

Finally, this tool has been used to extract and detail the final results, that is, the solution to the given problem and the study of every parameter involved in the execution of the algorithm. This way, the user counts with the final results aswell as the posibility of using the tool to extract his own conclusions since the best way to learn something is by doing by yourself.

The source code is avaliable in the github repository and the full thesis aswell.

This project is awarded with honors as my final thesis for my degree in Multimedia Engineering.

Technologies:

  • C++
  • OpenGL
Visual representation of the tool in execution.